

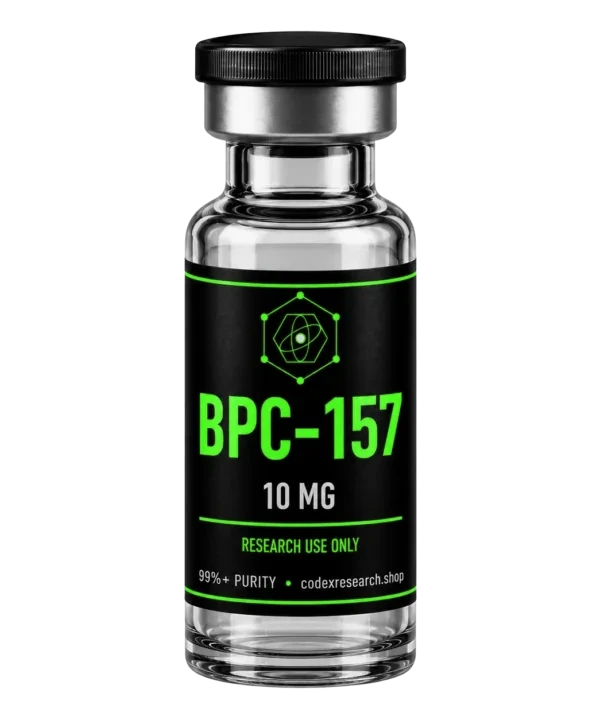
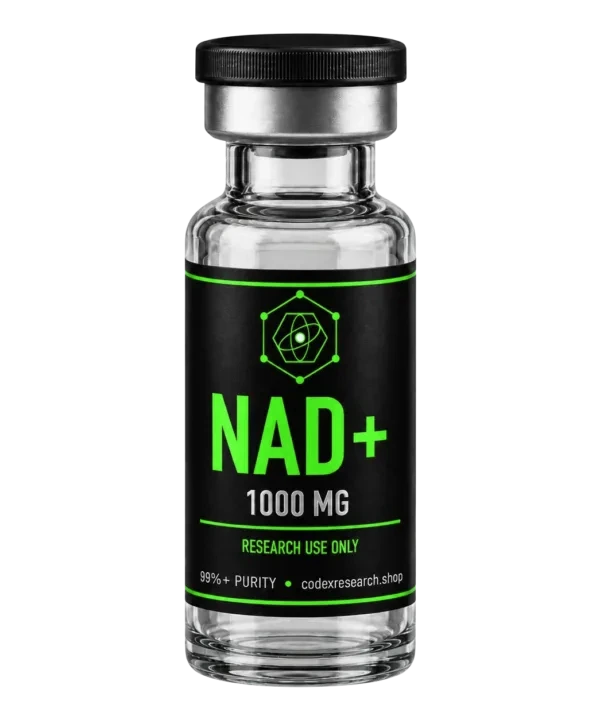
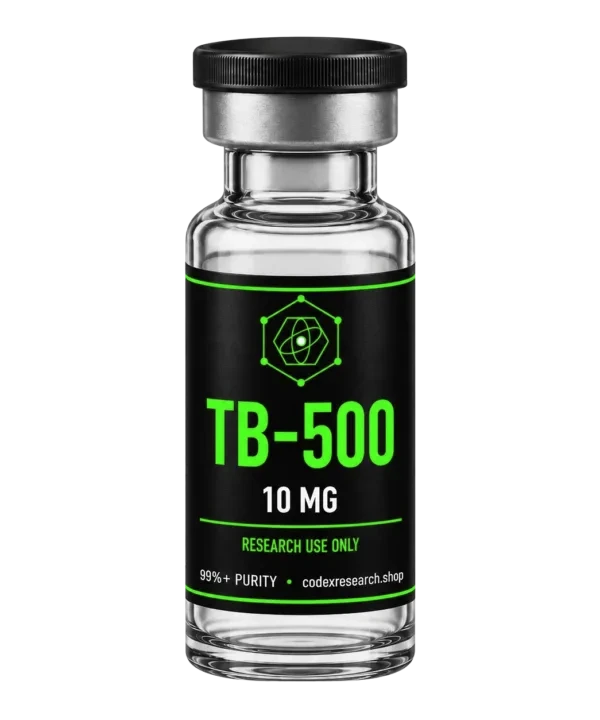
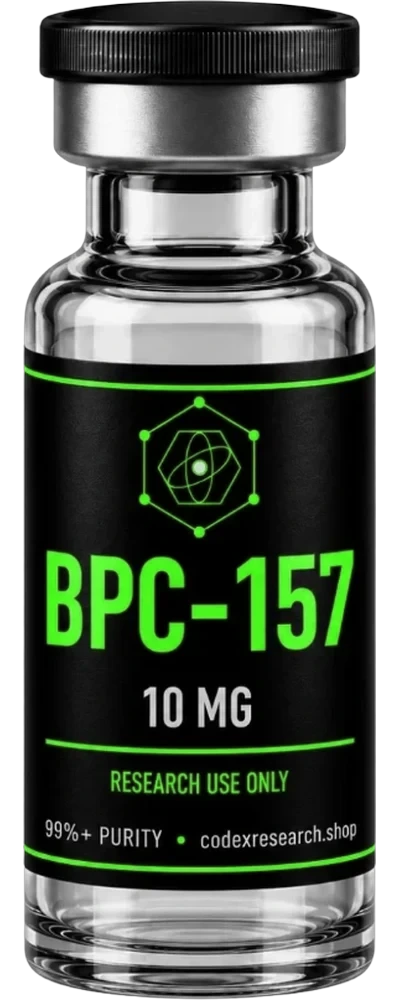
Most research peptides arrive as a lyophilized, or freeze-dried, powder. Lyophilization removes water so the peptide stays stable for shipping and storage, but it means every vial has to be brought back into solution before it can be used in the lab. Done carefully, reconstitution is quick. Done carelessly, it can damage the peptide or make every measurement that follows less accurate.
What you need
- The sealed peptide vial, brought to room temperature
- A diluent, usually bacteriostatic water
- Alcohol swabs for the vial stoppers
- A sterile graduated transfer device for measuring the diluent
- Labels and a pen
Step 1: Choose the diluent
Bacteriostatic water (sterile water with 0.9% benzyl alcohol) is the standard choice for most research peptides. The benzyl alcohol limits microbial growth, which matters when a vial is accessed more than once.
Some sequences are less soluble in neutral water. For these, a dilute acetic-acid solution or sterile water may be specified instead. If a compound is unusual, check its handling notes before reconstituting.
Step 2: Decide on a volume and do the math
The volume of diluent sets the concentration, and the concentration decides how much liquid holds a given amount of peptide. The core formula is simple:
| What you want | Formula |
|---|---|
| Concentration (mcg/mL) | peptide in vial (mcg) ÷ diluent (mL) |
| Volume for a target amount (mL) | target (mcg) ÷ concentration (mcg/mL) |
| U-100 units | volume (mL) × 100 |
For example, a 10 mg vial is 10,000 mcg. Adding 2 mL gives 5,000 mcg/mL, so 250 mcg is held in 0.05 mL, which is 5 units on a U-100 scale.
Pick a volume that makes the numbers round. It reduces mistakes over a long study. Our peptide reconstitution calculator does this math instantly and flags volumes that are too small to measure accurately.
Step 3: Prepare the vials
- Let the peptide vial reach room temperature so condensation doesn't form inside.
- Remove the protective caps and wipe both rubber stoppers with an alcohol swab. Let them air-dry.
- Tap the peptide vial gently so the powder settles to the bottom.
Step 4: Add the diluent slowly
Draw up the measured volume of diluent. Insert it through the peptide vial's stopper at an angle and let the liquid run down the inside wall of the vial rather than spraying it straight onto the powder. A forceful stream can foam the solution and shear longer peptide chains.
Step 5: Dissolve gently
Swirl or roll the vial slowly between your fingers until the solution is clear. Do not shake it. Most peptides dissolve within a minute or two. If some powder remains, let the vial rest in the refrigerator for a few minutes and swirl again.
A properly reconstituted solution should be clear and free of particles. Cloudiness or visible flakes can mean incomplete dissolution or a solubility problem with that diluent.
Step 6: Label and store
Write the compound, concentration and date on the vial straight away. Store reconstituted peptides refrigerated at 2–8 °C, protected from light. For longer studies, splitting the solution into single-use aliquots and freezing them avoids the damage that repeated freeze–thaw causes. See Peptide Storage and Stability for timelines.
Common mistakes
- Using too little diluent. A very concentrated solution means tiny volumes, and small measurement errors become large percentage errors.
- Shaking the vial. Gentle swirling is enough.
- Skipping the label. Unlabelled vials are the most common source of mix-ups in multi-compound studies.
- Leaving it at room temperature. Return it to the refrigerator as soon as you're done.


 From lab to your door